
Are you ready?
Done-for-You Facebook & Instagram Ads That Attract, Convert, and Scale
Facebook and Instagram ads for local & online businesses, designed to create massive results fast!
Free Guide
3-Step Profitable Ad Formula
Learn how you can bring leads to you on autopilot with our proven automated lead generation system you won't find anywhere else.
About Me
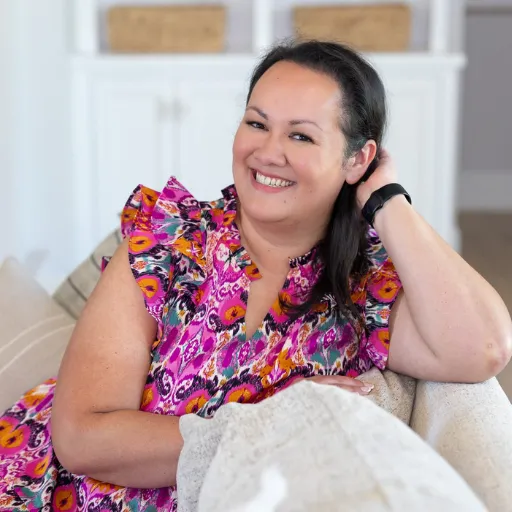
Hi! I'm Catie
I help small businesses, coaches, and course creators maximize their marketing.
I use my proven automated lead-generation system to create a MASSIVE impact on businesses across the country!
The truth is without leads, you don't have a business. I'm here to make sure you never have to worry about that again.
I'm a photographer, a wife, and a mom with a big heart to create an impact in the world. I understand the ins and outs of being a photographer and the unique situations we face when it comes to marketing. I have the heart of a servant and the drive of an entrepreneur that allows me to care about your business as much as I care about my own.
What we offer
Let's Work Together
Our Best Selling Services for Businesses Like Yours
Premium Ad Management
Done For You Ads & Management
VIP Day
Done With You Ads
Deep Dive Ad Audit
The Expert Advice You Need
Want More Help to Grow Your Business?
Download the 3 Step Profitable Ad Formula
3 Step Profitable Ad Formula
Learn how you can bring leads to you on autopilot with our proven automated lead generation system you won't find anywhere else.
Email:[email protected]
Site: www.catiewoodcreative.com